I wanted to start a series of posts for the projects I finished/polished for my Practical Deep Learning for Coders fast.ai course. Since I’m pretty green on ML/DL field, I hope the challenges I faced and overcome could be of value for other people experiencing the same journey.
Making It Even Better
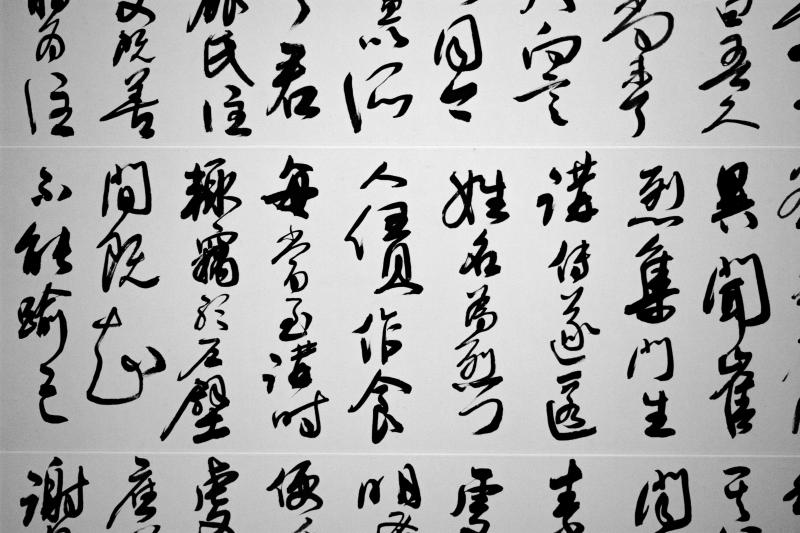
In my last post, I explained the approach I take for this image recognition problem using fast.ai library. As you can see, once we get the data down to a fast.ai ImageDataBunch, the code is rather simple and we achieve a 90% accuracy rate, which is quite impressive considering the quality of our data(randomly downloaded from Google/Baidu search without much data cleaning). Now, can we do better? DDI Editor’s Pick: 5 Machine Learning Books That Turn You from Novice to Expert | Data Driven… *The booming growth in the Machine Learning industry has brought renewed interest in people about Artificial…*www.datadriveninvestor.com
Turns out, we can!

How? Well, there are two things in our prior pipeline that could improve:
-
Image Pre-processing Tweak
-
Model Training Fine Tune.
Let’s dive deeper.
Image Pre-Processing Tweak
Remember when we import our data into fast.ai ImageDataBunch, we used the following code:

Notice that on our image pre-processing, i.e. get_transforms function, we didn’t give it any parameter and just used the default. The default will try to apply a variety of image augmentation techniques to make the image data-set generalize better, like flipping, warping, rotating, cropping, etc. This is good, fast.ai library helped us do the ‘best practice’ for the majority of the cases. But in our case here, some default might not work that well.
The biggest one is ‘flipping’. Because we are trying to classify calligraphy artworks and in real life, it will never randomly flip left/right or up/down. So making the images flips randomly will not reflect the real-life cases and thus won’t help with our training accuracy.
To fix this, we tweaked our code as below:

Notice we pass do_flip=False into the get_transforms function, thus telling the module to not randomly flipping our images during importing.
Model Training Fine Tune
Now that the image pre-processing is done. We can re-structure out model training to avoid overfitting and achieve better accuracy. This approach is introduced in the fast.ai Practical Deep Learning for Coders course lesson 3.
Instead of training the model directly from a 256x256 image size, we’ll gradually scaling up the image size. More concretely, we will first train a CNN to classify the images of 128x128 size, once we achieved best accuracy, we’ll then use transfer learning and keep training the model on the same data-set, except with 256x256 image size. We’ll call the 128x128 image size training ‘stage 1’ and 256x256 image size training ‘stage 2’
After our stage 1 training(where my last post left off), we have a trained CNN model called learn , it’s ‘unfreezed’ and achieves an accuracy of around 85%.
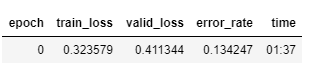
Accuracy 86% after training a 128x128 image size CNN.
Now we need to freeze the network again, create a new ImageDataBunch with 256x256 image size and restart the same training process.
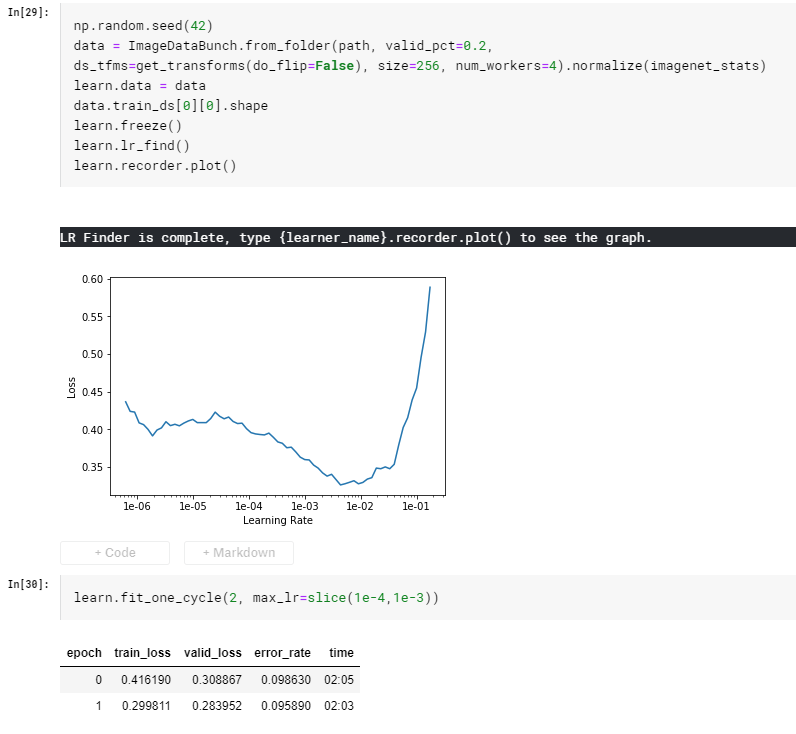
After finding the best learning rate, we train the CNN with another 2 epochs, already breaking into 91% accuracy. We’ll then do the same ‘unfreeze’ and keep training.
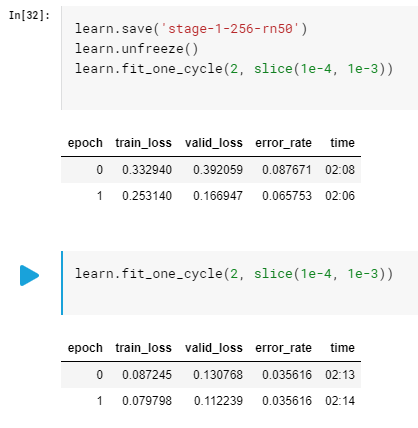
After unfreeze, we trained the model with another 4 epochs, the accuracy broke into 96.5%. Observed that valudation_losshas already surpassed training_loss, suggesting a sign of overfitting. We’ll stop our training here.
This simple technique is also called ‘Progressive resizing’ by Jeremy Howard from fast.ai and helped his team [beat Google in a competition of speed training IMAGENET in DAWNBench by training the IMAGGNET in a whopping 18 minutes and $40 Amazon AWS cost.
To Wrap It Up
Photo by Franki Chamaki on Unsplash
With two simple tweaks, we managed to increase the accuracy around 6.5%, breaking into the state-of-the-art range of results. Major takeaways:
-
When doing image pre-processing, make sure the processed images still properly represent what real-life data will look like.
-
The reason gradually increase training image size works is: by giving the trained model a data-set that’s 4 times bigger, actually means giving the model a brand new data to train, avoiding overfitting.
-
Starting from smaller sized images for training will also have the benefit of faster training and quicker experimenting. This usually leads to better results.
That’s it for Chinese Calligraphy Classifier. I hope you learned a thing or two after reading these two articles. We’re trying to get some specific calligrapher’s ‘true’ and ‘fake’ artworks and see if we can build a ‘true or false’ classifier. This will be a very interesting and much valuable next step. Will report back and write more articles if we made real progress. But until then, we’ll move on to put this well-trained model into production and build a web-app around it. Stay tuned.
If you haven’t read my first post on this topic, here’s the link: How I Trained Computer to Learn Calligraphy Styles: Part1 Build a Deep Learning Model with fast.ai Librarymedium.com